
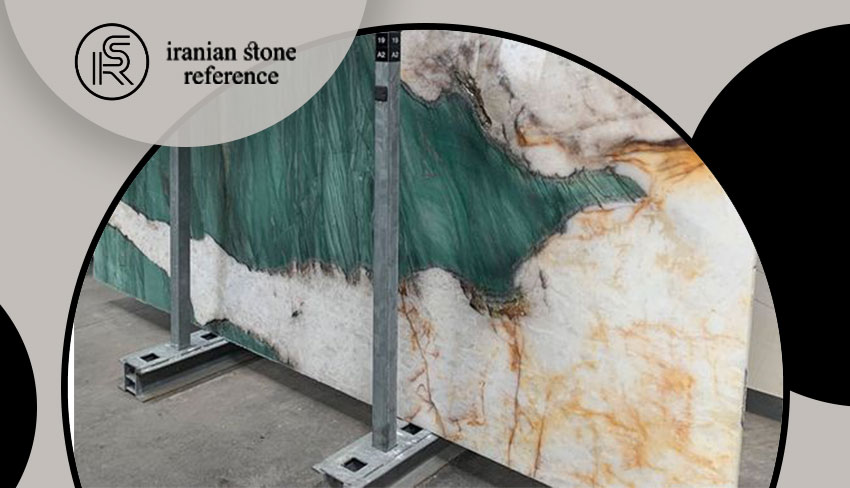
In the past, when small and lightweight tiles were used instead of large slabs, many people would simply begin laying stones one after another on the mortar without any specialized knowledge. But installing and executing slab stone — with its larger dimensions and heavier weight — is not that simple. There are critical points that, if not observed, will make the finished stonework look poor and reduce its lifespan. This article covers eight essential tips for a perfect slab stone installation.
In the past, when small and lightweight tiles were used instead of large slabs, many people without any knowledge in this field would begin laying stones one after another on the mortar. But installing and executing slab stone — with its larger dimensions and heavier weight — is not that easy. There are points that, if not observed, make the finished stone paving look unsightly and shorten its lifespan. In this article we intend to address these points and cover the complete process of installing various slab stones from A to Z. If you are eager to know more about this, stay with us.
Below are the 8 steps for installing slab stone on floors.
Depending on the type of surface you have chosen for slab stone installation, design the surface with a pencil, chalk, paint can, or spray. Note that this stage must be executed with precise measurement and the utmost care, and is the prerequisite for a clean slab installation.
At this stage you must choose the type of stone to use from among the various patterns, colors, and textures available in the market. You must also decide on the thickness of the slab panels and the materials they are made from based on the intended space. Keep in mind that this decision of yours directly affects the durability of the stone in the chosen environment. The chosen stone must be capable of bearing the weight of the volume of foot traffic in the chosen space.
In the next stage you must excavate the surface beneath the slabs that has been designed up to this point. This surface is known as the subbase layer and must be selected proportional to the slab thickness and of course the amount of mortar to be used in the substrate.
Then you must fill the subbase layer with gravel or limestone. The thickness of this layer is also determined proportionally to the chosen space.
Pour construction sand over the subbase layer to prepare the substrate layer for slab stone installation. This fills the gaps in the subbase layer and gives you a smoother surface, because the grains of construction sand are finer than the gravel or limestone beneath it and smooth the surface well. Then stir the gravel and construction sand together until completely compacted and then leveled. Prepare the final depth of the substrate layer and move on to the next stage.
Now you must install the leveling layer. The leveling layer must be installed with great care because the slab panels are placed directly on it! If this layer is not properly installed, there is a high probability of the slabs shifting and being damaged. Follow the steps below to successfully install the leveling layer. To have a smoother surface, use fine-grained sand. Pour the sand slowly so you have enough time to spread it evenly. Shape the leveling layer so that it is slightly concave. If the slab stone rests on the edges it will not shift; but any protrusion near the center point will cause movement. Build the leveling layer to a thickness of approximately 2.5 cm to create a concave shape.
Now it is time to lay and install the slab stones. Place the slabs slowly and evenly on the leveling layer to create the final stone paving. Since these stones have large dimensions and heavy weight, you will probably need help to place them correctly. You must hold the slabs from the edges and lift them, and while keeping them as level as possible, lower them simultaneously and place them in the designated location.
The last stage involves filling the joints and the empty spaces between the slabs so that they are completely locked and contact between them is prevented. Use appropriate gravel and sand for this purpose and fill the joints completely.
Observe these tips during the design and installation of slab stone so that the final result is completely beautiful and properly executed.
After designing the space and choosing the type of slab stone, it is a good idea to lay the stones once in place without mortar and see whether you are satisfied with the chosen arrangement or not. You can even confirm that the number of slabs is sufficient. If you are satisfied with the arrangement of the slabs, be sure to photograph it so that it serves as a reference for the actual installation.
← Back to Stone Knowledge